Goal
"The goal was to improve rider safety by designing a non-intrusive, 3D-printed system that could be added to any bicycle."

a retrofittable hardware kit to equip existing bicycles with turn signals, brake lights, and a digital speedometer.
"The goal was to improve rider safety by designing a non-intrusive, 3D-printed system that could be added to any bicycle."
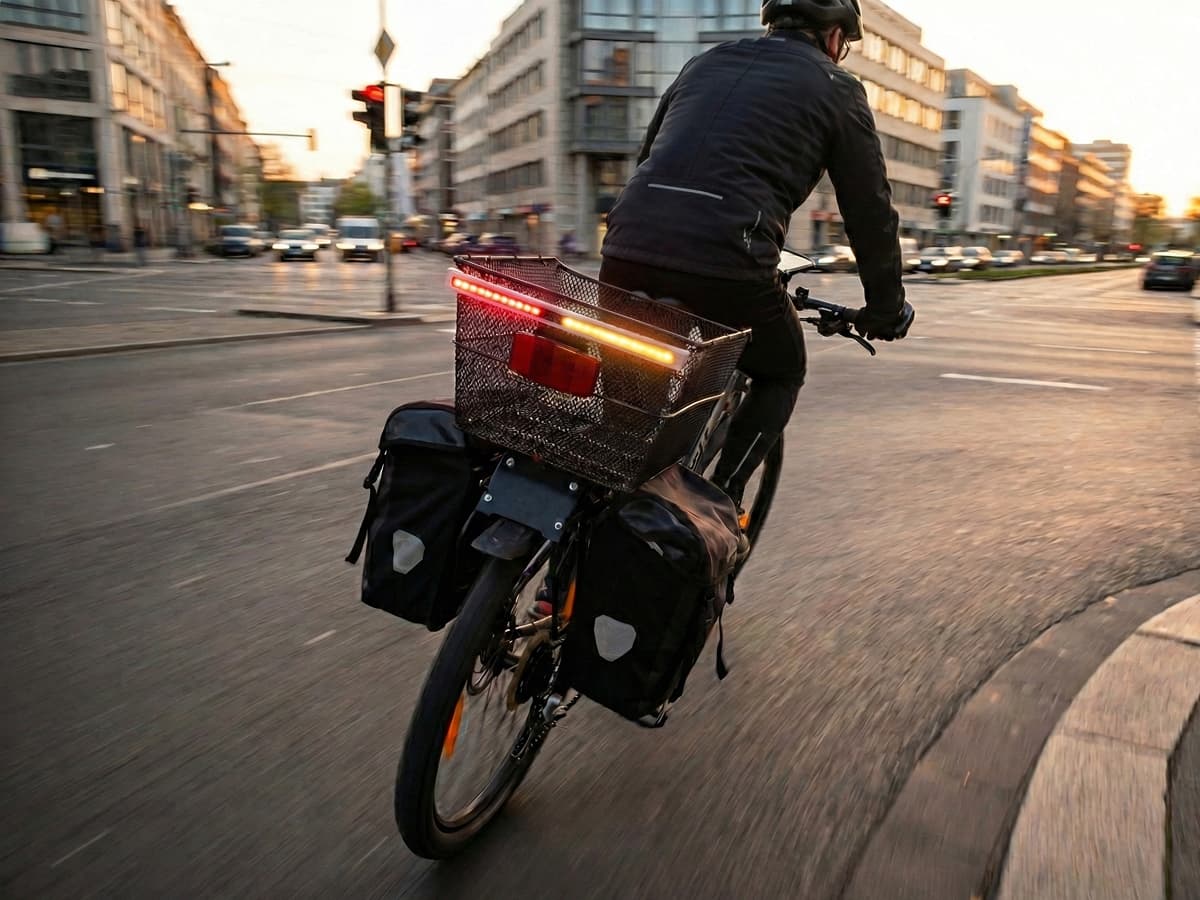
We started by planning how to add turn signals, brake lights, and a power source. We decided the system must be retrofittable, which meant our main challenge was how to mount all the parts without disturbing the rider. The first big problem was housing the 'brain' (the Arduino) and the power bank. We designed and 3D printed a custom casing that fits perfectly in the small space between the saddle and luggage rack, with room for all 14 cable connections.
Next, we built the brake and signal controls. We 3D printed a custom mount for the brake lever that holds a microswitch, which detects braking. We cleverly integrated the turn signal buttons into this same component, combining two functions into one.
Finally, we implemented the display. We mounted it on the handlebar and attached a magnetic sensor to the wheel. We programmed the Arduino in C++ to read the sensor, calculate the speed, and show it on the display along with the active turn signal direction.